



Removal
Remove the right bottom trim.
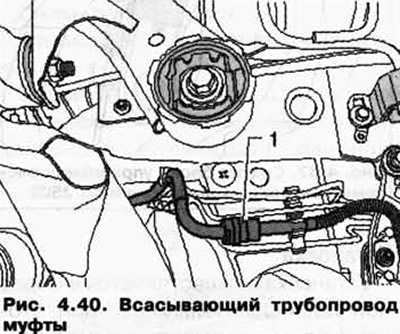
Disconnect the suction pipe 1 at the coupling (Fig. 4.40).
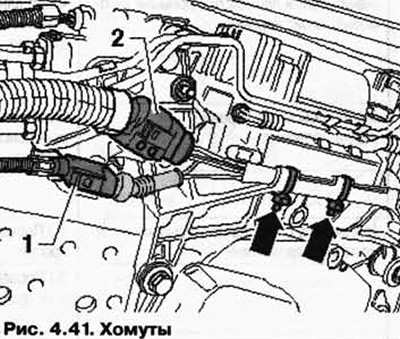
Disconnect electrical connections 1 and 2 between the compressor and the body.
Remove the clamps (Fig. 4.41).
Unscrew air duct 1 from the electromagnetic valve block (Fig. 4.42). Disconnect the pipeline at coupling 7.
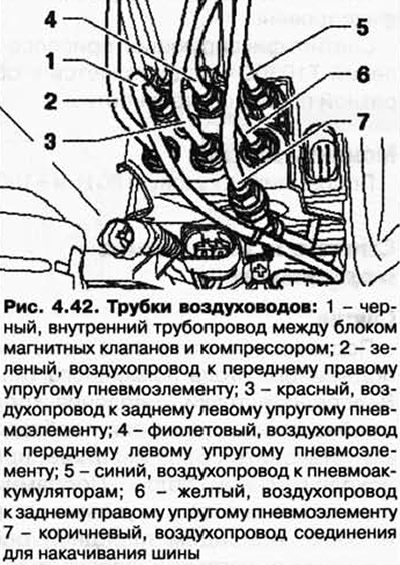
CAUTION: It is not permitted to remove air ducts 2 through 6.
Remove the air ducts from the holder on the bottom.
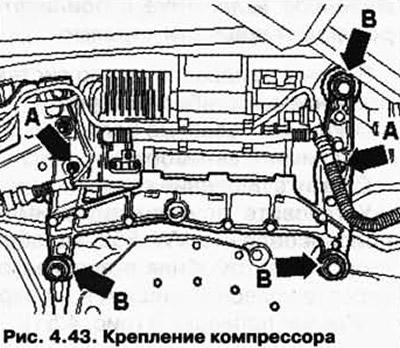
Remove the compressor nuts A. Unscrew the bolts B, after which the assistant should secure the compressor with the holder (Fig. 4.43).
Lower the compressor with the holder in front so that compressor 1 can be removed (Fig. 4.44).
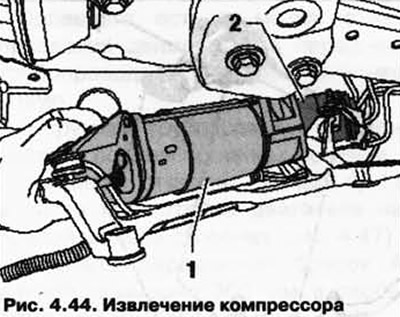
CAUTION: Ensure that the solenoid valve block 2 is as close to the bottom as possible. Also, do not bend or stretch the air ducts under any circumstances.
Installation
Installation is carried out in reverse order.
Tightening torques
Air ducts to the solenoid valve block: 4 Nm.
The original information is posted on the resource [VWManual.ru]
Holder to body: 20 Nm. Compressor to holder: 6 Nm.
Visitor comments