



4. Remove the wire clamp and disconnect the air intake duct.
5. Disconnect the electrical wiring.
6. Remove the transport rod (see photo).
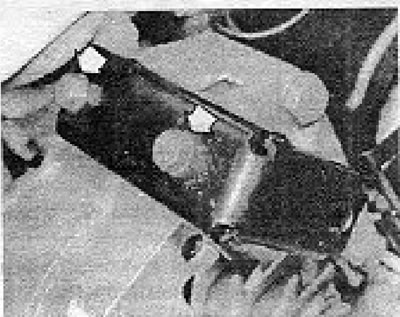
Photo 13A.6. Transport bar mounting bolts.
7. After this, the generator's upper mounting bolt will open, from which you need to remove the nut (when installing the generator, a new nut will be required).
8. Remove the bolt and nut from the generator adjusting bracket (see photo).
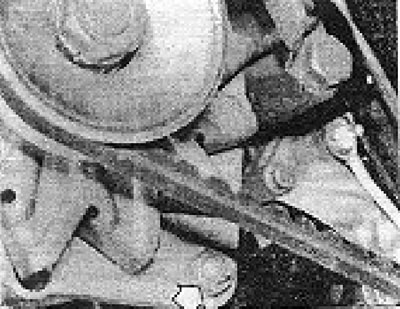
Photo 13A8. Nut and bolt (shown by arrow) generator adjusting bracket.
9. Remove the drive belt from the generator pulley (on models with power steering, to completely remove the alternator belt, it is necessary to remove the power steering pump drive belt).
10. Unscrew the upper generator mounting bolt and pull out the generator.
11. To remove the generator support bracket from the cylinder block, unscrew 2 bolts (see photo).
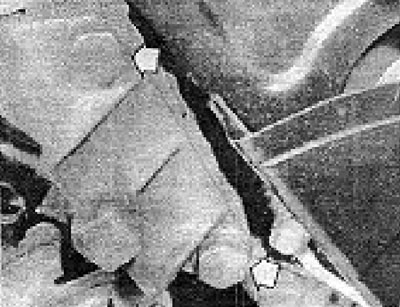
Photo 13A.11. Generator support bracket bolts (rolled by arrows).
12. The generator is installed in reverse order.
13. Tension the drive belt(s) as described in Chapter 2 for the alternator belt (remember that the water pump is now driven by a timing belt) and in section 14 of this Appendix for the power steering pump drive belt.
Visitor comments