



Contents: All models except Kafer 1303 ↓ Kafer 1303 ↓
All models except Kafer 1303
Removal
Disconnect the ground wire from the battery.
Attention! Observe fire safety precautions!
Open the trunk lid.
Disconnect the wire from the fuel level sensor, unscrew the sensor mounting bolts and remove the sensor.
Installation
Using a new sealing gasket, install the sensor so that the wire terminals are parallel to the longitudinal corrugations of the gas tank. Secure the sensor, connect the wire to it, and close the trunk lid.
Kafer 1303
Removal
Disconnect the ground wire from the battery, drain the fuel from the fuel tank.
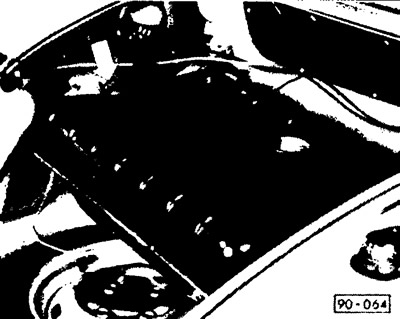
Release the hose clamp (see arrow).
Move the fuel tank to the position shown in the picture.
Disconnect the wire from the fuel level sensor.
Using universal pliers while applying pressure from above (see arrow A) turn the sensor to the left (see arrow B) until it exits the bayonet lock groove of the sensor.
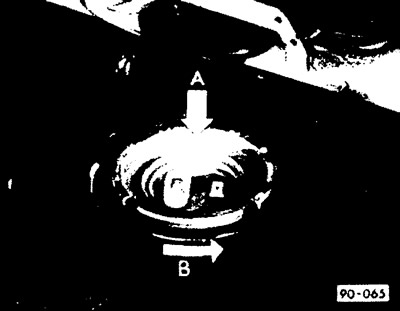
Lift the sensor slightly and turn it again until the wire connection terminals are parallel (as in working position) longitudinal corrugations of the fuel tank.
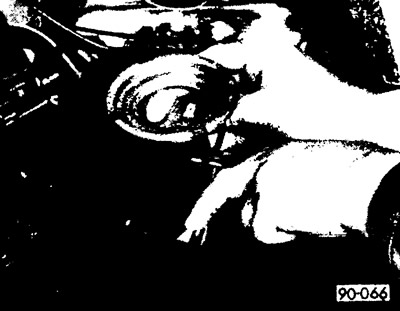
Lift the sensor and pull it back out of the hole. At the same time, press down on the lever of the long arm of the float to prevent the float ball from catching on the cutout of the flanges of the upper part of the gas tank.
Installation
Holding the sensor vertically, insert it into the opening of the fuel tank so that the float arm is parallel to the longitudinal corrugations of the tank. At the same time, press down on the long arm of the float so that the float ball can slide forward on the bottom of the fuel tank. Before installation, rub the sensor sealing gasket with graphite powder.
Turn the sensor to the left until the bayonet connector engages and, applying light pressure from above, turn the sensor to the right until it locks into place.
Connect the wire to the sensor and the ground wire to the battery.
Visitor comments