
Removing
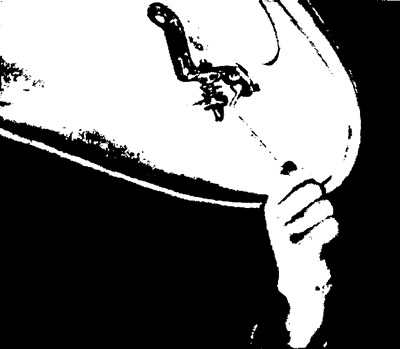
Loosen the two hex bolts on the top of the lock. Remove the rod with the lining and the upper part of the lock.

In the lock hole, loosen the stopper tightening bolts. Cut off four rivets with a chisel and remove the lower part of the lock down.
Installation
The lock is designed in such a way that when its rod breaks, the locking bolt automatically bounces back, which blocks the pin of the lock bracket when the hood is closed. After that, the trunnion is released and the hood can be opened.
Pin (temporarily) bolt pull the lock to its stopper. Rivet the bottom of the lock to its bracket.
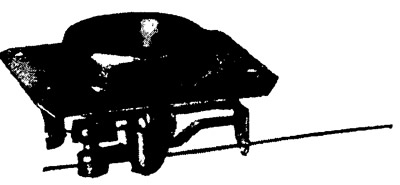
Loosen the bolt, tighten the lock rod tightly and secure it. Bend the rod behind the clamping bolt.
Upper part of the lock cover: place the padded rod on the trunk lid. Push the stopper plunger into the cover. Tighten the hexagon bolts with washers.
By several openings and closings, check the installation of the lock and the length of its pin. Adjust the length of the trunnion by screwing it in or out (after loosening locknut).
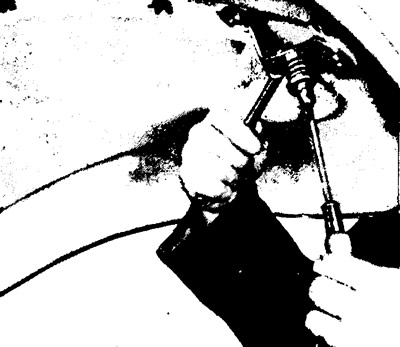
Check the adjustment of the lock rod, if necessary, adjust the rod and bend the protruding end of the wire. Lightly grease the lock stopper and its trunnion.
Visitor comments