
Removing
Remove the generator see previous chapter.
Note: Depending on the model, the removal of the regulator relay is also possible with the generator installed.
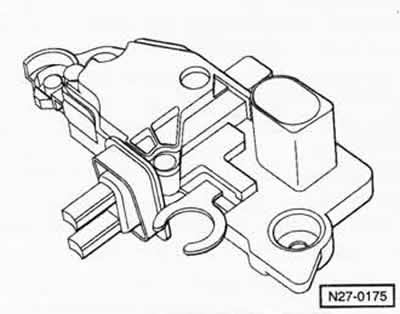
Generator 1: Unscrew the protective cover -2- from the back of the generator, see figure N27-0195.
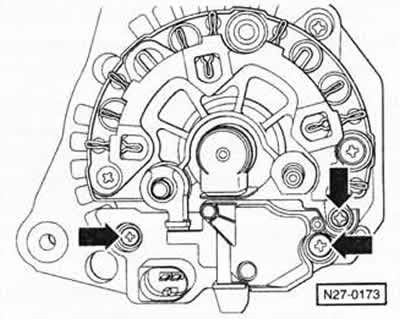
Unscrew screws -arrows- and remove control unit towards rear.
Replace the regulator relay brushes if they are 5 mm or less in length, or if the brush lengths differ by more than 1 mm. To do this, pre-solder the wire cores.
Check slip rings for wear, finely grind and polish if necessary (at the service station).
Clean the contact surfaces, check the preload of the contact springs and replace them if necessary.
Installation
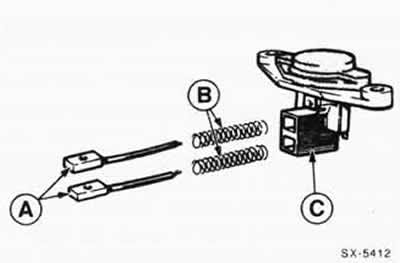
Insert new brushes -A- and springs -B- into the brush holder -C- and solder the connecting wires.
So that when soldering a new brush, the solder does not rise along the core to be soldered, it must be covered with tweezers.
Attention: When solder spreads along the core, it becomes hard, as a result of which the brush becomes unusable.
Insert voltage regulator and screw tight.
After installation, check the ease of movement of the new brushes in the brush holder.
If necessary, screw on the protective cover of the generator.
Tighten the nuts
Install the generator see previous chapter.
Visitor comments