



Contents: Removal ↓ Installation ↓
Removal
Loosen the wheel mounting bolts, raise the front of the vehicle and place it on supports. Remove the wheel.
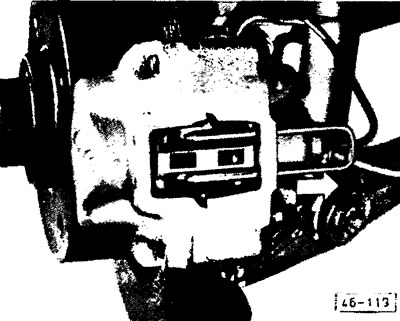
Remove the cotter pins from the bracket, remove the bracket and remove the springs.
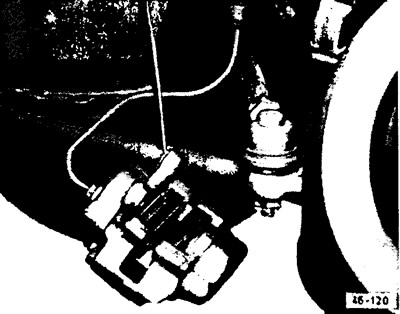
Remove the brake caliper from the steering knuckle and hang it on a wire.
Caution! Do not disconnect the brake hose!
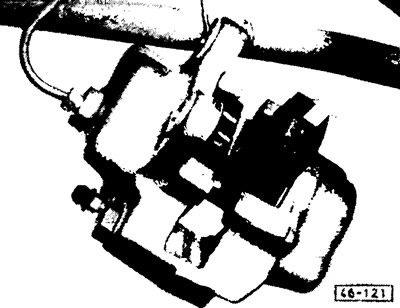
Turn the friction linings 90° and remove them one by one from the opening in the caliper body.
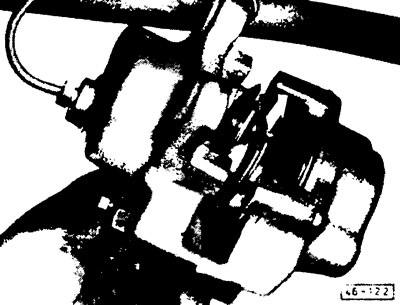
Move the noise-damping shields toward the middle of the caliper and remove them.
Installation
Inspect the brake disc before installation. Replace the disc if it has scratches.
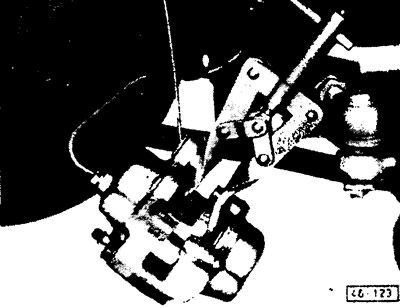
Press the caliper pistons back using a special tool for returning the pistons or a strong wooden block.
Caution! This will cause brake fluid to spill into the expansion tank. To avoid overfilling the tank, some of the liquid may need to be pumped out. To do this, you need to use a special probe, which should only be used for brake fluid. Never suck out liquid through the hose with your mouth!
Install noise-reducing shields (the arrow indicates the direction of rotation of the brake disc).
Insert the friction linings into the opening of the caliper housing and turn them 90°.
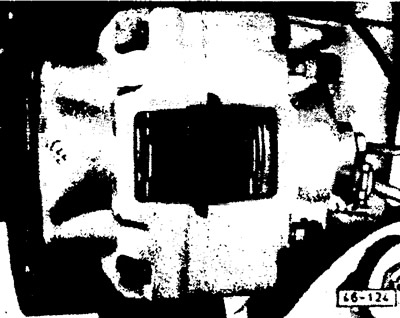
Install the caliper onto the steering knuckle and tighten its mounting bolts to 40 N⋅m (4.0 kg⋅cm). For vehicles with front suspension with shock absorbers, secure the caliper mounting bolts with new lock washers.
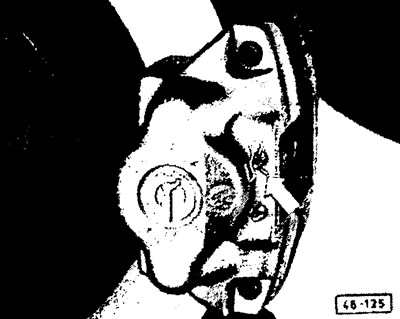
Insert the lining springs, their bracket, new cotter pins and bend their ends at an angle of 45° (see arrow).
With the vehicle stopped, press the brake pedal several times to set the friction linings into working position.
Visitor comments